QUICK START
If this is not your first time using BACA we are strongly recommend going through bootstrap docs.
What you need to do, to start development
Step 1. Setup repository
- Clone this repository to your local machine
git clone git@github.com:binarapps/baca-react-native-template.git name_of_your_app
cd name_of_your_app
- Change origin to your repository
git remote remove origin
git remote add origin git@github.com:organization_name/repository_name.git
git branch -M main
git push -u origin main
Step 2. Login / register to expo
Skip this step if you are already logged in
Login to expo account on your local machine.
eas login

## veify if you are correctly logged

eas whoami
Step 3. Create project on expo.dev
-
Sign in to the expo dev console (account created in the first step of repo configuration).
-
Select the proper organization you are working for from a dropdown:
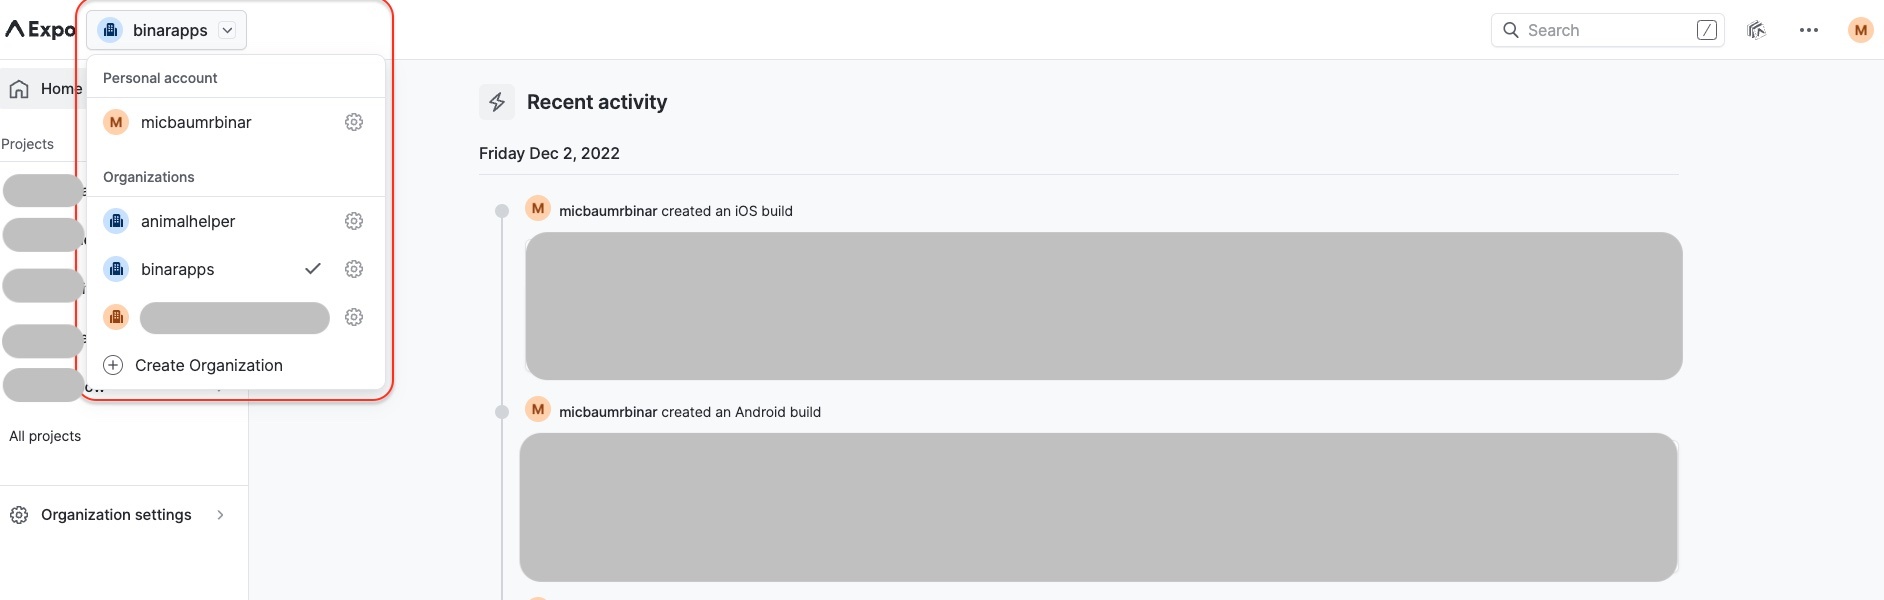
Ideally, it will be an organization created by the client (especially for production builds), to easily pass access after the end of development.
-
Create a new Project in the organization.
-
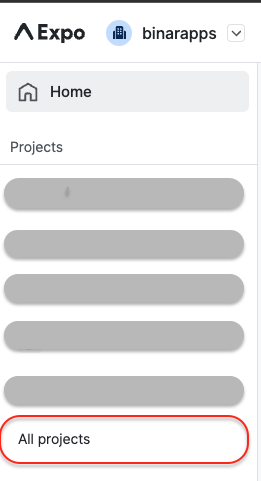
From the sidebar menu click All projects button:
-
On the page with the list of projects click +New Project button:

-
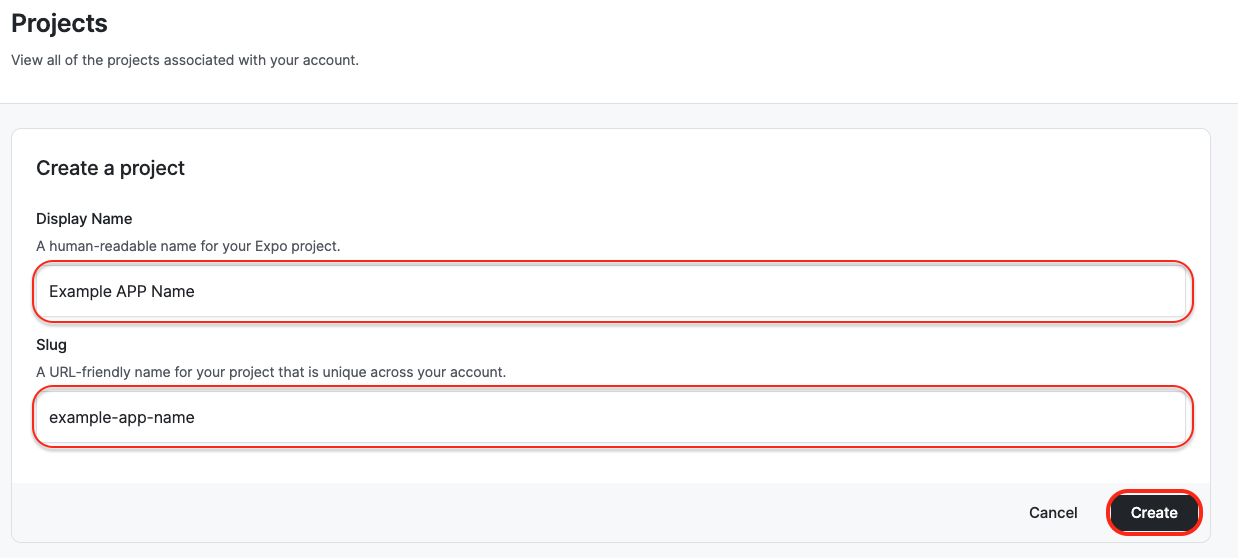
Apply display name and slug of your project.
Display name is a name that will be visible in the Expo Dev Console.
Slug is the name that will link your Expo application with your code.
-
Step 4.Sync project with code.
Please gather this data:
- app name - you can add display name from previous step, or add anything you want here, this name will be displayed for users later
- slug name - created in 1-st point.
- owner - organization picked from the list in 1-st point
If you will have issues with finding this values, please check bootstrap testing docs
If you gather all this data please run this command:
yarn baca bootstrap --simple
Please verify all changes made with the script
Step 5. Make environment variables setup - tutorial
Next steps:
Congrats, if you have completed all of this 5 steps, you can start development, after first iteration of development you can: